I'm loving the cool, crisp mornings and warm days of fall. Don't get me wrong – I'm a summer girl at heart, but I do love that time of year when summer turns to fall. There's football and baseball (Yes! The San Francisco Giants are going to the World Series!), leaves are changing colors and if you haven't already started, it's not too late to make a few fall-themed cards.
And what better way to capture the changing colors of fall foliage than by using the Molten Magic technique. Paste the leaf icon stencil (LL471), with
metallic copper paste. Then lightly sprinkle Kimono Red, Kiwi Green, Eye of the Tiger ........Metallic F/X over the wet paste. Use a heat tool to warm the paste until bubbly. And there you have it – crisp, crinkly leaves that you don't have to rake!
There are so many ways to change-up this card. You could apply gold leaf over the dried metallic copper paste. Or, instead of the Molten Magic technique, you could apply a layer of Palette Stamp and Stick glue to the image (position a clean stencil over the dried paste first to keep the glue where it belongs). and then paint the leaves with Metallic F/X. You could change this from a top-fold card to make it a side-fold. You could also eliminate the patterned paper and replace it with a sentiment of your choice. Happy birthday, Thanksgiving wishes, or thinking of you are all possibilities. The Baker's twine could give way to coordinating enamel dots . . . you get the idea. Dreamweaver Stencils are so versatile, the possibilities are endless. Give it a try and see what you come up with.
Products used:
Dreamweaver
Leaf Icons stencil, LL471
Metallic Copper Embossing Paste, DCP
Palette Knife, DPK
Paste Spreader, LM2010
Metallic F/X Kimono Red (FX15), Forestry (FX20), Goldfinch (FX05) and Eye of the Tiger (FX06)
Patterned paper, American Crafts Autumn Crisp 6x6 paper pad
Solid card stock, American Crafts Peacock and Squash
Until next time,
Happy crafting,
Liz
Friday, October 17, 2014
Thursday, January 2, 2014
A Little Birdie Told Me. . .
. . .that we're celebrating the Queen's birthday this week.
Well. . .the Queen of Stencils, Lynell Harlow, that is. Actually, her
birthday is on Saturday, but we're surprising her by posting birthday
cards in her honor today. Nothing like making you feel OLD sooner than
necessary, right Lynell? You'll even see a few familiar names in our
lineup, as some of us on the teaching team are whooping it up for her as well.
So follow the links below to see what we've created to celebrate Lynell's birthday.
Happy New Year,
Liz
Labels:cards, crafts, handmade
Dreamweaver Stencils,
easel card
Monday, December 23, 2013
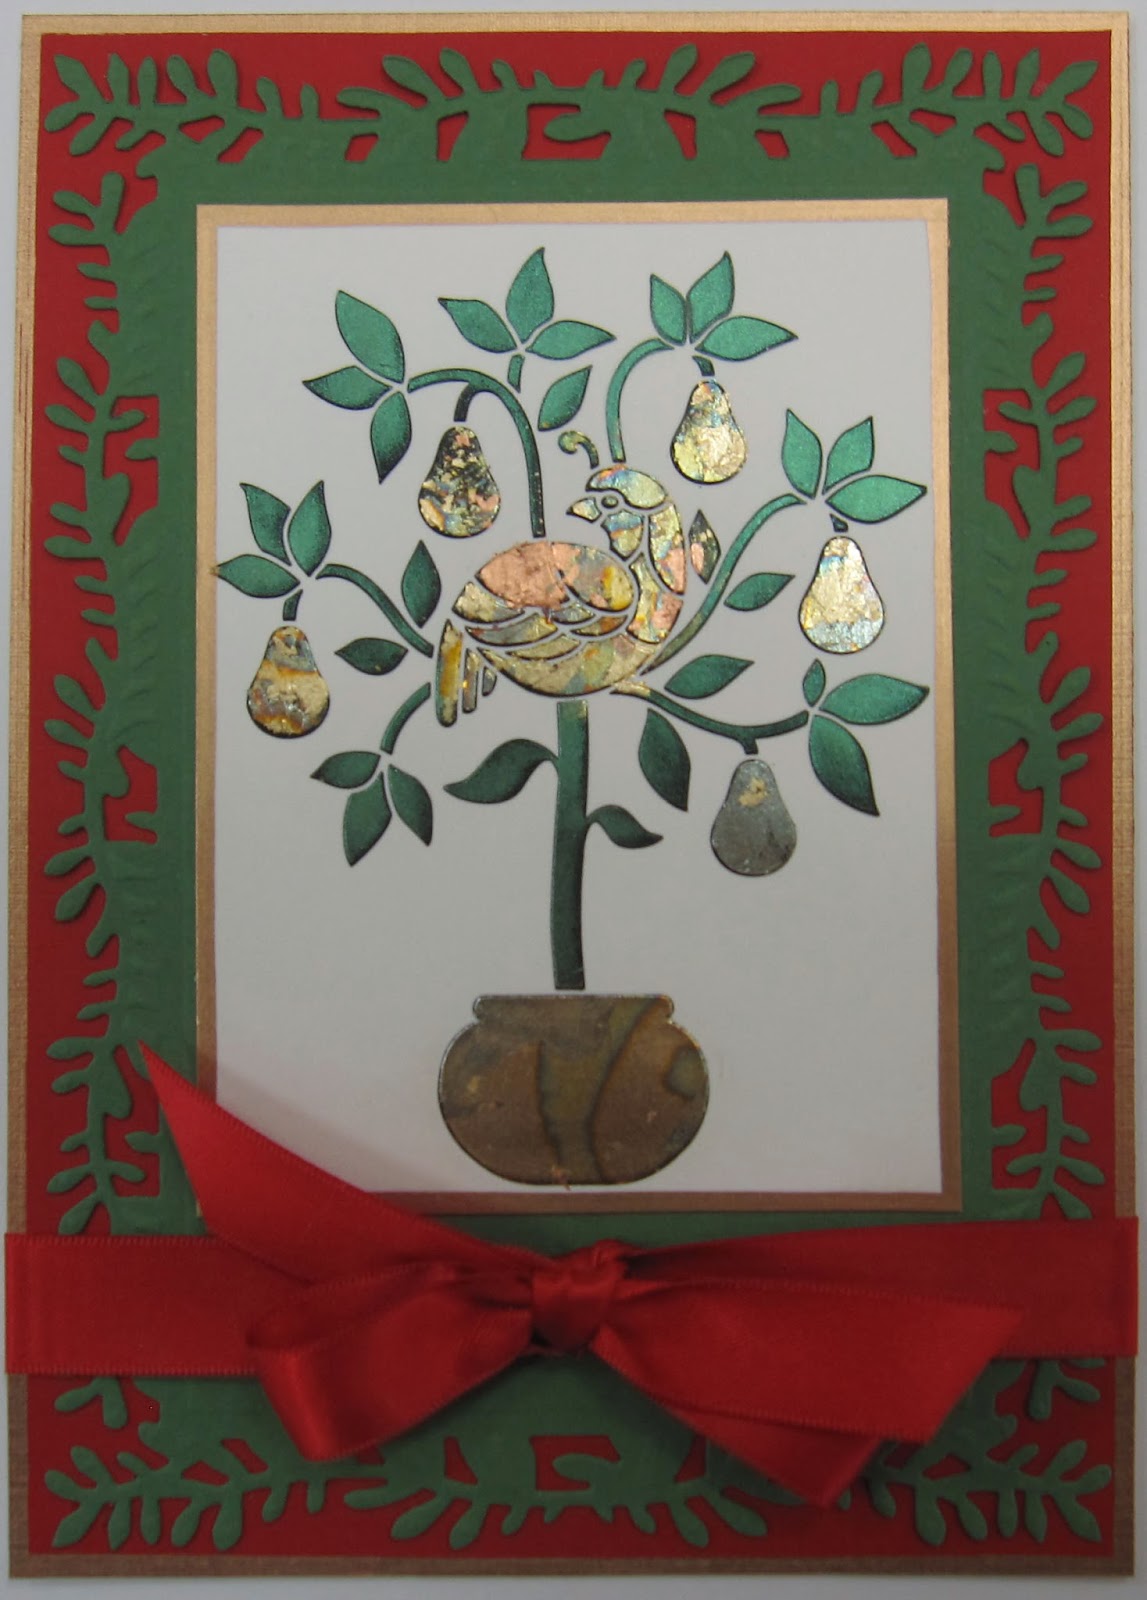
Happy Holidays Everyone
Wishing everyone of you the happiest of holidays
and all the best in the New Year
And for your New Year's resolution:
Remember to set aside some time to create crafty goodness.
Labels:cards, crafts, handmade
Dreamweaver Stencils,
gold leaf,
May Arts ribbon,
Metallic F/X,
Partridge in a Pear Tree,
Spellbinders dies
Monday, September 23, 2013
Autumn Birthdays
Our family celebrates a lot of birthdays in September and October and I sometimes run short of cards (you know . . . like the shoemaker's kids not having any shoes). Here's an easy way to stay ahead of the game.
Using the power pasting technique, paste as many cards as you think you might need then add the finishing touches and assemble them as time permits. For example, paste 12 card panels using the Spider Mums (LJ892) stencil and glossy black paste. Let them dry and then put them aside with a sheet of wax paper between each panel until needed. To finish the card, reposition the stencil over the image and tape the corners to hold in place. With a dauber, apply Versamark watermark ink to the exposed paste. Using a clean paint brush, dust a layer of Metallic F/X powder (I used Peach, Plum Royal, Pink Blaze, Forestry and Kiwi) over the watermark ink in colors that will coordinate with your background paper. Remove the stencil and dust off any remaining powder with a soft cloth or brush. (A Swiffer Dry Sweeper also works well for this.) Stamp the appropriate sentiment and you're done!
We'll be using this stencil and the Molten Magic technique in Saturday's class at Memories Live On. Register on-line or call the store at 408-446-9910 to save a space in the craft room.
Happy crafting,
Liz
Using the power pasting technique, paste as many cards as you think you might need then add the finishing touches and assemble them as time permits. For example, paste 12 card panels using the Spider Mums (LJ892) stencil and glossy black paste. Let them dry and then put them aside with a sheet of wax paper between each panel until needed. To finish the card, reposition the stencil over the image and tape the corners to hold in place. With a dauber, apply Versamark watermark ink to the exposed paste. Using a clean paint brush, dust a layer of Metallic F/X powder (I used Peach, Plum Royal, Pink Blaze, Forestry and Kiwi) over the watermark ink in colors that will coordinate with your background paper. Remove the stencil and dust off any remaining powder with a soft cloth or brush. (A Swiffer Dry Sweeper also works well for this.) Stamp the appropriate sentiment and you're done!
We'll be using this stencil and the Molten Magic technique in Saturday's class at Memories Live On. Register on-line or call the store at 408-446-9910 to save a space in the craft room.
Happy crafting,
Liz
Labels:cards, crafts, handmade
Dreamweaver Stencils,
Metallic F/X,
Stampin' Up and Neenah Classic Crest card stock.,
Stardream,
Versamark watermark ink (Tsukineko)
Thursday, September 19, 2013
Fall is in the air . . .
. . . and there are some wonderful Dreamweaver Stencils to translate that feeling into card making or scrapbooking. I've chosen three for a stencil class at Memories Live On in Cupertino on Saturday, September 28 (1:00-4:00 p.m.; $25 class fee). Call the store at 408-446-9901 to register.
The new technique we'll be learning is faux ceramic tile (or window pane) and we'll re-visit the Molten Magic technique we learned a few months ago.
Remember to set aside some time to do something creative this weekend.
Until the next post, happy crafting,
Liz
The new technique we'll be learning is faux ceramic tile (or window pane) and we'll re-visit the Molten Magic technique we learned a few months ago.
Remember to set aside some time to do something creative this weekend.
Until the next post, happy crafting,
Liz
Labels:cards, crafts, handmade
Dreamweaver Stencils,
Fall,
Faux Ceramic Tile technique,
Molten Magic technique
Thursday, August 15, 2013
It's been a while . . .
Time does go by quickly when you get caught in the day to day activities of life. But I'm back with lots of card making and paper-crafts projects to share.
Dreamweaver Stencils is till my fave and today's card uses a new release Shasta Flower (LL3031) and the Faux Cloisonne technique. I can't share the details now, as it is a card I will be teaching at Memories Live On in Cupertino, CA on August 24. If you're interested in the class, call 408-446-9901 to register.
And don't forget to check the crafty projects the new design team has created for you. You'll find the links on the sidebar.
Until next time,
Happy crafting,
Liz
Labels:cards, crafts, handmade
Dreamweaver Stencils,
Faux Cloisonne,
Spellbinders dies
Thursday, March 28, 2013
So Long, Farewell, Ciao . . .
. . . my time on the fabulous Dreamweaver Design Team is up. Where most teams offer a year-long adventure at best, I've been very fortunate to have worked with this amazingly talented group for two and a half years. I'll still be posting projects on a regular basis, though just not on Thursdays – that's still reserved for the Dream Team. And I'll still be teaching with the fabulous products from Dreamweaver Stencils and will post information about classes on this blog's sidebar.
For my last post, I've tried to capture on paper the very beautiful wisteria blossoms that adorn the exterior of the Filoli Estate not far from where I live. It's an amazing display and I've even taken wisteria pruning classes there in the hope that my one plant will aspire to grandeur.
Here's what you'll need:
Wisteria LG725
Translucent Embossing Paste DEPT
Palette Knife DPK
Paste Spreader LM2010
Ink (your choice)
Stencil Brushes
Removable Tape
Ribbon or other embellishment of your choice
Here's what to do:
Position stencil on card stock and apply color in light shades to wisteria blossoms only. This will create the background and give depth to the image. Clean stencil and reposition it a little higher and to the right of the wisteria blossoms you just colored. Apply ink in darker shades to blossoms and leaves. Remove stencil and clean it. Reposition stencil over blossoms and leaves and tape on all sides. Using palette knife, put some translucent paste on paste spreader and spread evenly over stencil. Remove stencil and set card aside to dry (paste will dry clear). Return unused paste to jar; wash and dry stencil, palette knife and paste spreader. Adhere card to mats. Add ribbon or other embellishment and adhere to card front.
There's still a few days left to enter this month's "Bloomin' Spring" challenge and you can find all the details and mr. linky on the Dream it Up! blog here. Be sure to visit the rest of the Dream Team blogs for more ideas and inspiration. Here are the links:
For my last post, I've tried to capture on paper the very beautiful wisteria blossoms that adorn the exterior of the Filoli Estate not far from where I live. It's an amazing display and I've even taken wisteria pruning classes there in the hope that my one plant will aspire to grandeur.
Here's what you'll need:
Wisteria LG725
Translucent Embossing Paste DEPT
Palette Knife DPK
Paste Spreader LM2010
Ink (your choice)
Stencil Brushes
Removable Tape
Ribbon or other embellishment of your choice
Here's what to do:
Position stencil on card stock and apply color in light shades to wisteria blossoms only. This will create the background and give depth to the image. Clean stencil and reposition it a little higher and to the right of the wisteria blossoms you just colored. Apply ink in darker shades to blossoms and leaves. Remove stencil and clean it. Reposition stencil over blossoms and leaves and tape on all sides. Using palette knife, put some translucent paste on paste spreader and spread evenly over stencil. Remove stencil and set card aside to dry (paste will dry clear). Return unused paste to jar; wash and dry stencil, palette knife and paste spreader. Adhere card to mats. Add ribbon or other embellishment and adhere to card front.
There's still a few days left to enter this month's "Bloomin' Spring" challenge and you can find all the details and mr. linky on the Dream it Up! blog here. Be sure to visit the rest of the Dream Team blogs for more ideas and inspiration. Here are the links:
Liz Martin (you're here)
The new team begins posting next week so be sure to stop by to see what crafty goodness they have in store for you. You can find their blog links on the Dream it Up! blog.
Happy crafting,
Liz
Labels:cards, crafts, handmade
Dreamweaver Stencils,
translucent paste,
wisteria
Subscribe to:
Posts (Atom)

